I still vividly remember the first time I stumbled upon Nata de Coco in a vibrant market in the Philippines, nestled among an array of exotic fruits and sweets. Its unique texture caught my attention, and after the first bite, I was hooked. I knew I had to learn how to bring this experience into my kitchen. It wasn’t just about savoring the taste but about immersing myself in the culture and the science behind crafting such a gem from simple coconut water.
Table of Contents
How to make Nata de Coco
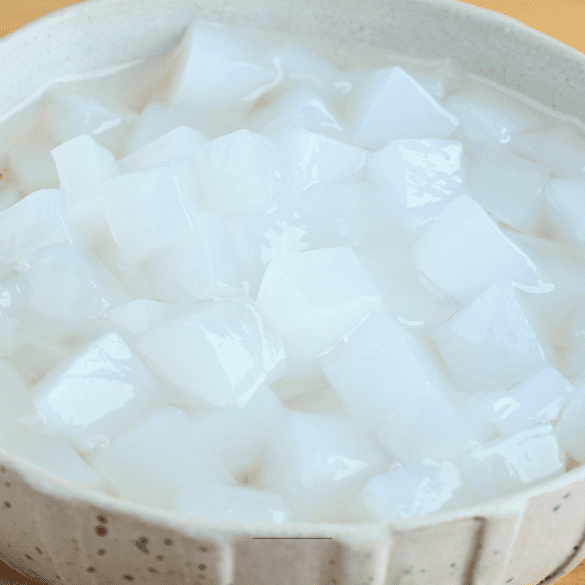
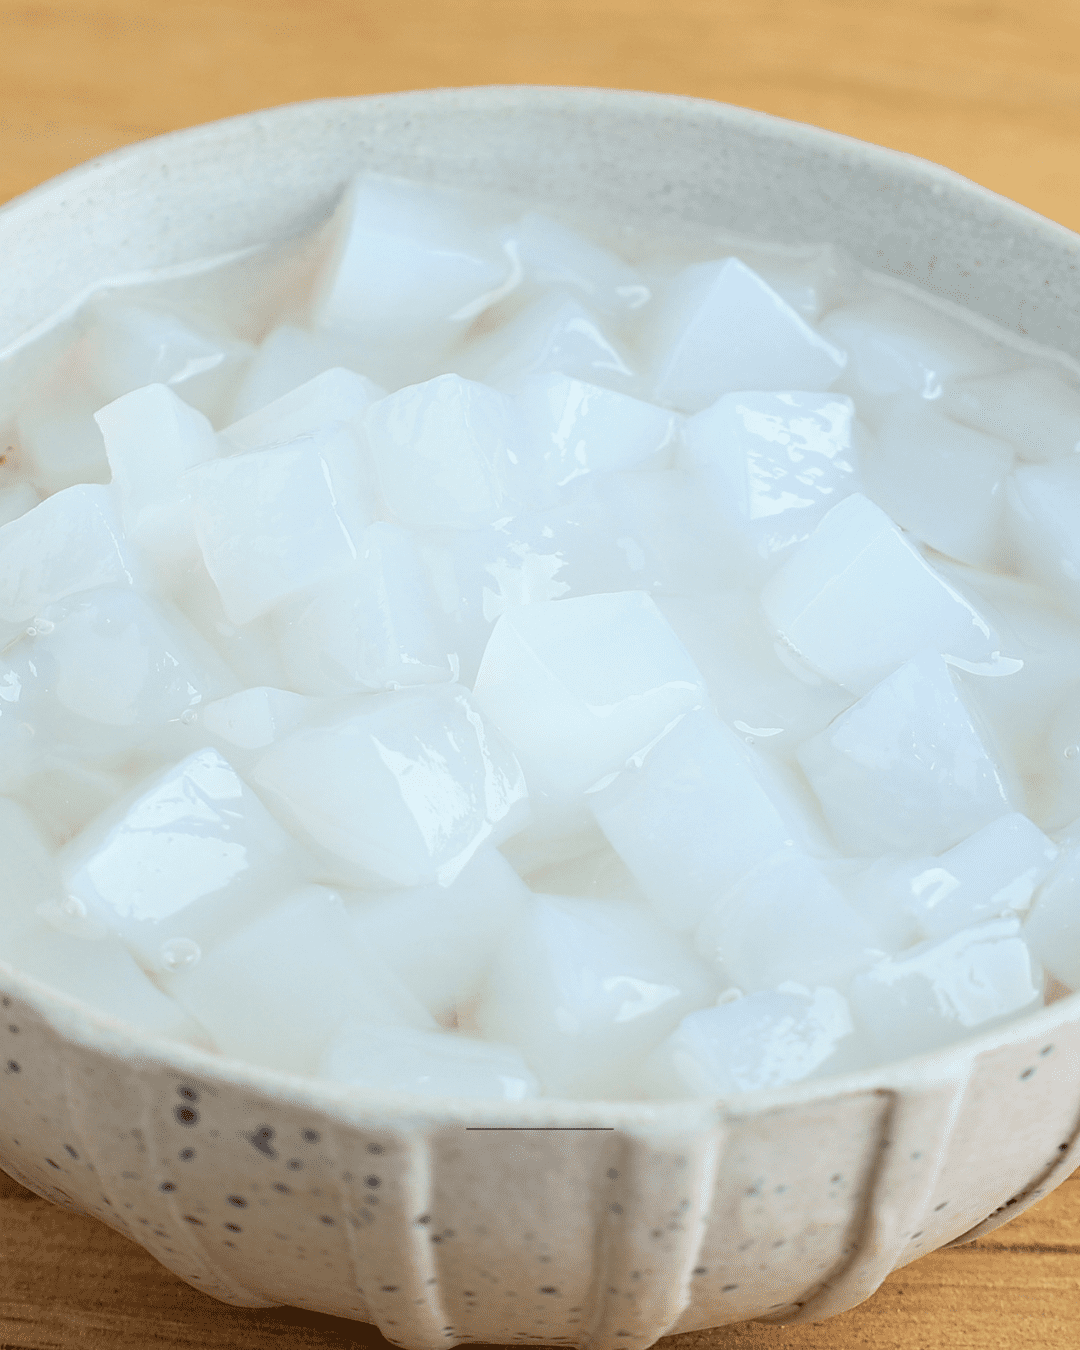
Nata de coco is a chewy, jelly-like food made from fermented coconut water. It originated in the Philippines and is popular throughout Southeast Asia and other parts of the world as a sweet treat or dessert topping.
Ingredients:
- Coconut Water: 1 liter (preferably fresh, but packaged unsweetened coconut water can work)
- Sugar: 200 grams
- Acetic Acid (Vinegar): 1 tablespoon (to help balance the pH and support fermentation)
- Nata de Coco Starter Culture: This can be sourced online or from local health stores.
Tools:
- Large glass or stainless steel container (do not use metal as it can react with the vinegar)
- Cheesecloth or a clean dishtowel
- Plastic wrap or a loose-fitting lid
- A warm, dark place to ferment the mixture
- A strainer and a couple of bowls
Instructions:
Prepare the Coconut Water:
- Mix coconut water with sugar and stir thoroughly until the sugar completely dissolves.
- Heat the mixture mildly just till it’s lukewarm, not hot, to help dissolve and blend the ingredients without killing any beneficial bacteria.
Adjust the PH:
- Add the tablespoon of acetic acid to the mixture. This step is crucial as it helps in maintaining the right environment for fermentation.
Adding the Starter:
- Stir the Nata de Coco starter culture into the coconut water mixture until well combined.
Set up for Fermentation:
- Pour the prepared mixture into the large glass or stainless steel container.
- Cover the container with cheesecloth or a clean dishtowel to keep out dust and insects but to allow the mixture to breathe. Secure it with a rubber band or string.
- Place the container in a warm, dark place (about 30°C or 86°F) for up to 2 weeks.
Monitor Fermentation:
- Check the mixture every few days. A jelly-like layer should start forming on top of the liquid.
- Fermentation is complete when the jelly layer is about 1/2 inch thick.
Harvesting:
- Carefully remove the jelly layer and transfer it into a clean bowl.
- Rinse the jelly several times with clean water to remove any residual acidity.
Cutting and Storing:
- Once cleaned, cut the jelly into cubes or any other shapes you desire.
- Store Nata de Coco in a container filled with syrup or water to keep it moist and chewy.
Tips for Success:
- Sterilization is Key: Ensure all utensils and containers are thoroughly sterilized to avoid contamination.
- Patience Pays Off: Nata de Coco takes time to form correctly. Don’t rush the process; the thickness and quality of the jelly depend on the appropriate fermentation time.
- Store Properly: To extend its shelf life and maintain its texture, keep the Nata de Coco submerged in syrup or water and refrigerated.
What to serve with
Nata de Coco, with its jelly-like consistency and refreshing taste, is incredibly versatile and pairs wonderfully with a myriad of dishes, from simple snacks to elaborate desserts.
1. Fruit Salads
Nata de Coco adds a delightful chew and subtle sweetness to fruit salads. Mix it with diced mangoes, pineapples, papayas, and a squeeze of lime juice for a tropical salad that bursts with flavor and texture.
2. Desserts
Add Nata de Coco to desserts for an interesting twist. It’s especially delicious in:
- Parfaits: Layer Nata de Coco with yogurt, granola, and fresh fruits for a refreshing parfait.
- Panna Cotta and Gelatin Desserts: Incorporate it into panna cotta or jelly for a dessert with a surprising texture.
- Cakes and Cupcakes: Use it as a filling or topping to add a unique bite to your baked goods.
3. Beverages
Nata de Coco is a fantastic addition to a variety of drinks, where it offers a chewy contrast to the liquid:
- Bubble Tea and Smoothies: Add it to these drinks for an extra textural component similar to tapioca pearls but with a distinct crunch.
- Cocktails and Mocktails: Incorporate Nata de Coco into fruity cocktails or mocktails for an added layer of enjoyment. It pairs splendidly with coconut-based or tropical drinks.
4. Traditional Asian Desserts
Use Nata de Coco in Asian-inspired treats for an authentic experience:
- Halo-Halo: This beloved Filipino dessert is a perfect home for Nata de Coco. Combined with shaved ice, evaporated milk, and various ingredients like sweet beans, jackfruit, and purple yam, it creates a rich tapestry of tastes and textures.
- Buko Pandan: A classic Filipino dessert made from young coconut, pandan (screwpine leaves), and sweetened cream. Nata de Coco adds a pleasantly chewy dimension.
5. Ice Cream and Sorbets
- Stir chunks of Nata de Coco into homemade or store-bought ice cream and sorbets for a tantalizing twist. Its jelly-like consistency frozen within the creamy texture is a delightful surprise.
Ingredients Substitutes
Nata de Coco is made from coconut water and sugar fermented with bacterial cultures. It offers a unique texture and subtly sweet taste. However, making it traditionally might be a challenge if certain ingredients aren’t available or if dietary preferences don’t allow it.
1. Coconut Water
Coconut water is the essential base of Nata de Coco. Its natural sugars and nutrients are perfect for the growth of the bacterial culture that forms the jelly.
Substitutes:
- Sugar Water Mixture: If coconut water is not available, you can use plain water mixed with sugar. This won’t provide the same flavor profile but will encourage the fermentation process.
- Palm Wine (Tuba): A traditional Filipino liquid extracted from palm trees, offering a similar sugar content and could potentially yield similar results.
- Rice Milk or Almond Milk: These can be experimented with for a different yet somewhat tropical vibe, though the output and texture might vary significantly from traditional Nata de Coco.
2. Acetic Acid Bacteria Culture
This bacterium is crucial as it ferments the sugars in the coconut water, creating the gelatinous mass known as Nata.
Substitutes:
- Vinegar: If the proper bacterial culture is not accessible, distilled white vinegar might act as a starter due to its acetic acid content, though this extremely alters the traditional process and possibly the flavor and texture.
- Kombucha SCOBY: Since Kombucha is also a product of acetic acid fermentation, using a piece of SCOBY (Symbiotic Culture Of Bacteria and Yeast) could potentially initiate the fermentation.
3. Sugar
Sugar is generally added to coconut water to feed the bacteria, aiding in the thickening and expansion of the Nata.
Substitutes:
- Honey: An all-natural sweetener that could potentially replace sugar in feeding the bacterial culture during fermentation. Be mindful, as it might slightly alter the final taste.
- Agave Syrup or Maple Syrup are more refined sugar alternatives that can provide a different kind of sweetness, potentially influencing both texture and flavor.
4. Citric Acid
Citric acid is sometimes used to maintain pH balance during fermentation.
Substitutes:
- Lemon or Lime Juice: Natural citric acid sources can help regulate acidity if commercial citric acid is not available.
- White Vinegar: This can also be used to adjust the pH but should be used cautiously due to its strong flavor and ability to overpower the subtle notes of the coconut.
Final Thoughts
With these steps, ingredients, and tips in mind, you’re well on your way to making delicious Nata de Coco.
More Treats Recipes:
- Passover Noodle Kugel Recipe
- Homemade Dunkin Pretzel Sliders Recipe
- Starbucks Egg, Pesto & Mozzarella Sandwich Recipe

Ingredients
- Coconut Water: 1 liter
- Sugar: 200 grams
- Acetic Acid (Vinegar): 1 tablespoon
- Nata de Coco Starter Culture
Instructions
Mix coconut water with sugar until fully dissolved, then gently warm the mixture until just lukewarm to help everything blend without overheating. Stir in the acetic acid to adjust the pH, then add the Nata de Coco starter culture and mix well. Pour the mixture into a clean glass or stainless steel container, cover it with cheesecloth or a clean towel secured with a rubber band, and place it in a warm, dark spot for up to two weeks. Check it every few days as a jelly-like layer forms on the surface, and once it reaches about half an inch thick, carefully remove it, rinse it several times with clean water, then cut it into cubes and store in syrup or water to keep it soft and chewy.
