If you grew up peeling back a paper wrapper to reveal that chocolate-wafered circle of vanilla bliss, then the Dairy Queen DQ Sandwich probably lives rent-free in your memory. This homemade version brings back everything you loved, soft, chewy wafers, airy vanilla filling, that cold snap as you bite in, but with a DIY twist that’s just as fun to make as it is to eat.
This copycat Dairy Queen DQ Sandwich recipe captures the lightness of soft-serve and the nostalgic chew of classic chocolate wafers. No fancy molds or stabilizers needed. Just a little freezer patience and a love for old-school treats.
Table of Contents
How to make a Dairy Queen DQ Sandwich
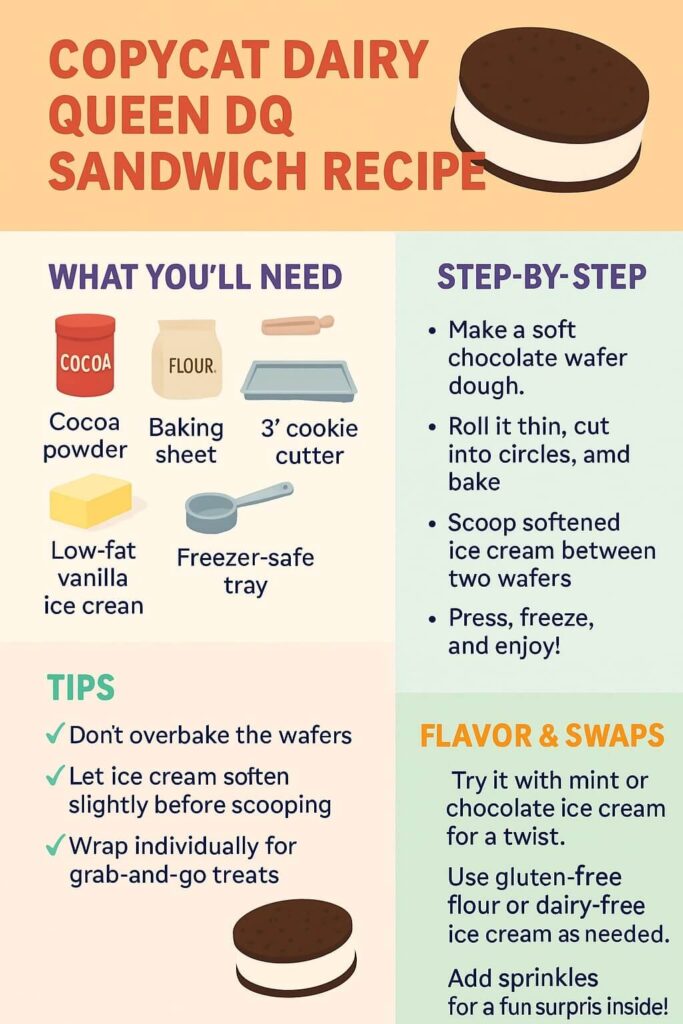
Start by baking a cocoa-rich wafer dough, rolled thin so it stays bendy even when frozen. While those cool, whip up a light vanilla ice cream base that mimics DQ’s signature soft-serve texture, less fat, more air, and a clean vanilla flavor. Layer the ice cream between two cooled wafers, press gently, and freeze again until firm.
The trick? Use a low-butterfat ice cream (or whip your own quick soft-serve blend) and freeze fast so it holds that fluffy structure without going icy. Wrap them individually and stash in the freezer for a ready-to-go nostalgic dessert.
Nutrition facts (per sandwich, approx. 85 g)
Calories: 180
Total Fat: 5 g
Saturated Fat: 3.5 g
Carbohydrates: 30 g
Sugar: 17 g
Protein: 3 g
Ingredients (for 6 sandwiches)
Prep Time: 30 minutes
Cook Time: 8 minutes
Freeze Time: 2 hours
Total Time: 2 hours 40 minutes
Servings: 6
For the chocolate wafers:
- ¾ cup all-purpose flour
- ¼ cup cocoa powder (Dutch-processed preferred)
- ¼ cup granulated sugar
- ¼ tsp baking soda
- ¼ tsp salt
- ¼ cup vegetable shortening or softened unsalted butter
- 2 tbsp milk
- ½ tsp vanilla extract
For the vanilla ice cream filling:
- 1½ cups low-fat vanilla ice cream (or homemade soft-serve, see tips)
- Optional: ¼ tsp xanthan gum or ½ tsp instant vanilla pudding mix (for stability)
Tools you’ll need
• Rolling pin
• Mixing bowls and spatula
• Hand mixer or stand mixer
• Baking sheet
• Parchment paper
• 3-inch round cookie cutter
• Ice cream scoop
• Freezer-safe container or tray
• Plastic wrap or foil for wrapping
Instructions
Make the wafers
- Preheat oven to 350°F (175°C). Line a baking sheet with parchment.
- In a bowl, whisk together flour, cocoa, sugar, baking soda, and salt.
- Add shortening, vanilla, and milk. Mix until a soft, pliable dough forms.
- Roll the dough between two sheets of parchment until very thin (about ⅛ inch).
- Cut out 12 rounds using a 3-inch cutter. Reroll scraps as needed.
- Place on baking sheet and bake 7–8 minutes. Cool completely.
Prepare the filling
- Let the ice cream soften slightly at room temp (about 5–10 minutes).
- If using pudding mix or xanthan gum, mix it in now for extra creaminess.
Assemble the sandwiches
- Scoop ¼ cup of ice cream onto a wafer. Top with a second wafer.
- Gently press to sandwich and smooth the edges with a spoon.
- Place sandwiches on a tray, cover with parchment, and freeze for at least 2 hours.
Serve or store
Wrap each sandwich in foil or plastic wrap. Keep frozen up to 1 month.
Tips
• Use Dutch-processed cocoa for deeper color and mellow flavor.
• Don’t overbake the wafers or they’ll crack in the freezer. You want them soft when cooled.
• For an extra clean look, run a knife around the edge to trim any messy ice cream overflow before refreezing.
• Let sit at room temperature for 2–3 minutes before biting for the best texture.
What to serve with
Fresh & light:
• Sliced strawberries or banana coins – for a fruity contrast.
• Sparkling water with lemon – cuts through the richness.
Comfort-style:
• Warm brownie pieces – hot and cold is always a hit.
• Crumbled graham crackers with whipped cream – makes for a fun, dippable side.
Savory bites:
• Salted popcorn – balances the sweet with a crunch.
• Pretzel sticks – great contrast and that classic sweet-salty combo.
Variations
Mini DQ Sandwiches
Use a 2-inch cutter and smaller scoops for bite-sized treats, perfect for parties or kid portions.
Mint-Chocolate DQ Sandwich
Add ¼ tsp peppermint extract to the ice cream base and a few mini chocolate chips.
Dairy-Free Version
Use coconut-based vanilla ice cream and plant-based butter in the wafers.
Double Chocolate
Swap vanilla ice cream for chocolate, or even cookies & cream for a DQ-style twist.
Funfetti Fill
Stir rainbow sprinkles into the softened ice cream for a party version kids will love.
Ingredient substitutes
All-Purpose Flour
Substitute: Gluten-free flour blend (1:1)
Vegetable Shortening
Substitute: Unsalted butter, vegan butter, or coconut oil (refined for neutral taste)
Dutch Cocoa
Substitute: Regular cocoa powder (flavor will be sharper)
Low-fat Vanilla Ice Cream
Substitute: Frozen yogurt, dairy-free vanilla ice cream, or homemade soft-serve blend
Xanthan Gum or Pudding Mix
Substitute: Omit, or add 1 tsp cornstarch slurry to help stabilize (not essential)
Milk (for dough)
Substitute: Oat milk, almond milk, or water if needed

Ingredients
For the chocolate wafers:
¾ cup all-purpose flour
¼ cup cocoa powder (Dutch-processed preferred)
¼ cup granulated sugar
¼ tsp baking soda
¼ tsp salt
¼ cup vegetable shortening or softened unsalted butter
2 tbsp milk
½ tsp vanilla extract
For the vanilla ice cream filling:
1½ cups low-fat vanilla ice cream (or homemade soft-serve, see tips)
Optional: ¼ tsp xanthan gum or ½ tsp instant vanilla pudding mix (for stability)
Instructions
Make the wafers
Preheat oven to 350°F (175°C). Line a baking sheet with parchment.
In a bowl, whisk together flour, cocoa, sugar, baking soda, and salt.
Add shortening, vanilla, and milk. Mix until a soft, pliable dough forms.
Roll the dough between two sheets of parchment until very thin (about ⅛ inch).
Cut out 12 rounds using a 3-inch cutter. Reroll scraps as needed.
Place on baking sheet and bake 7–8 minutes. Cool completely.
Prepare the filling
Let the ice cream soften slightly at room temp (about 5–10 minutes).
If using pudding mix or xanthan gum, mix it in now for extra creaminess.
Assemble the sandwiches
Scoop ¼ cup of ice cream onto a wafer. Top with a second wafer.
Gently press to sandwich and smooth the edges with a spoon.
Place sandwiches on a tray, cover with parchment, and freeze for at least 2 hours.
Serve or store
Wrap each sandwich in foil or plastic wrap. Keep frozen up to 1 month.
Notes
Calories: 180 Total Fat: 5 g Saturated Fat: 3.5 g Carbohydrates: 30 g Sugar: 17 g Protein: 3 g